Photos or Images are a great way to snap and preserve a beautiful memory of a moment or any scenic and stunning view that you wish to preserve for a lifetime. In the digital era of 2024, you can easily make your photos or images more alive by converting your photo collection to a beautiful video clip. There are multiple tools to do that and it has never been this easy before. In this guide, we will look at 3 simple techniques to make a video with images/photos that you already have.
Table of Contents
Method 1: Using Video-Editing PC Software
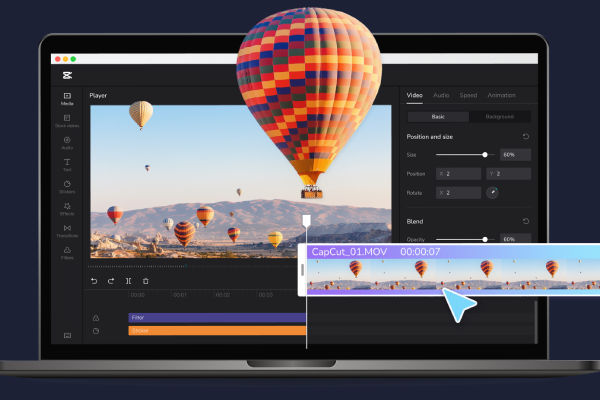
Video Editing PC software offers a high range of customization options and is a powerful solution for a robust editing journey and experience. Let us take the example of the Movavi Video Editor and understand the entire process step by step.
Step 1: Get the Movavi Editor, Import and Organise your Photos
Download the Movavi Video Editor on your PC and launch it. Once it is open, look for the “Add Media Files” option, and select all the photos you wish to edit on the editor, Alternatively, you can also directly pick and drop the pictures from your PC media to the editor.
Step 2: Align the Timeline and Arrange the Images/ Photos on the Timeline
All the photos/ images that you imported into the editor from your computer will directly appear under the “Media Library”. Now you simply need to drag the photos and drop them on the video track or the timeline. You can arrange the photos/images placement as per your choice and in which sequence you want the images/photos to be played in the final video.
You can also edit the length of the photos by simply clicking on them on the timeline and dragging the edge of each image manually to increase or decrease the length of the duration of the photo in the video. If you want the transition between the images in the video to also look engaging, you can click on the “Transitions” option and simply pick and drop the transition between the photos/images on the timeline.
Step 3: Add Music or Text to Enhance Your Video
You again need to click on the “Add Media Files” option and look for any music or audio file that you wish to add to the video from your computer media. Once selected, simply put that music or audio clip on the timeline under the audio track section on the editor.
You can also add text or descriptions to your video by clicking on the “Titles” option and selecting one title style. Simply, pick and drop the clip on the timeline. Once done, edit the text under the program window as per your choice.
Step 4: Export the Final Video Clip
The last step after you are happy with your video clip is to click on the “Export” button. Select the video format that is suitable like MP4 and tweak the quality settings as per your choice. Finally, to render your video, click on the “Export” button and your video will be saved in your media.
Method 2: Using Video-Editing Apps on Mobile
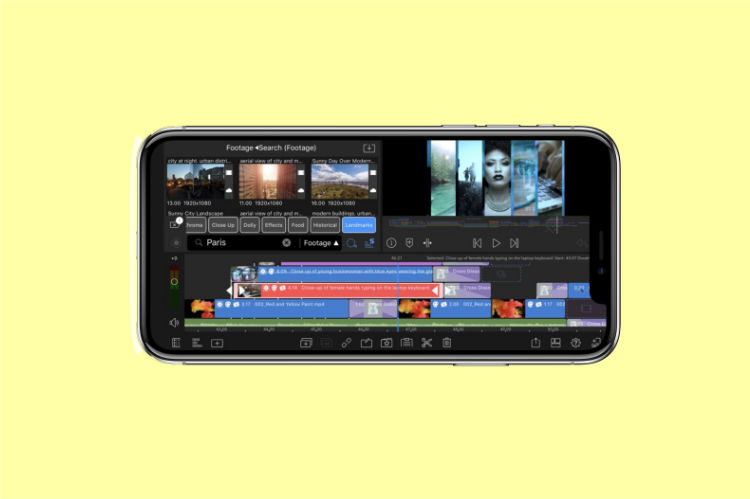
If you are looking for a more accessible and on-the-go solution for making a video with your photos, mobile video editing apps can be a great option for you. Mobile video editing apps are more accessible and easy to use. We will use the example of CapCut, a free video editing application for both Android and iOS devices, to understand how mobile editing apps work.
Step 1: Select a Template for Your Project and Add Your Photos
First, download the CapCut application on your device and launch the application. Once the application is open select the “New Project” option. Now choose all the images/photos you wish to add to your video from the gallery of your phone.
Tip: CapCut gives you the option to choose from readymade project templates with transitions and duration. If you wish to make everything quick. You can select a readymade template option from your video.
Step 2: Manage the Timeline with the Selected Images/Photos
Once you have selected all the photos and imported them, you can see the images at the bottom of your app interface. Now simply pick and drop the images on the track of the timeline as per your order or choice preference. You can rearrange the photos on the timeline multiple times as per your choice and requirements.
Step 3: You can Add Text, Effects, and Music to Your Video
Once you are done with the arrangement of the photos on the timeline. You can enhance your video by adding text, effects, and music. To add music, click the “Audio” button and select from the background scores options.
Click on the “Text” option and choose the style and edit the text. Once done, drag the text track to the timeline to add it to your video. Similarly, to add effects to your video, click the “Effects” button choose any effect from the given option, and then drag and drop the effect on any photo on your timeline to add that effect on that part of your video.
Step 4: Export and Render the Video Clip
The last step after you have added everything to your video is to simply click on the “Export” option (pointing upward arrow). Select the resolution and desired frame rate of the video and then again click on “Export” to finally render the video clip and save the video in your phone gallery.
Method 3: Using Online Video Maker Tools
If you do not wish to download any application or software on your mobile device or your computer. Cloud and browser-based video editing and maker tools can be your best option. Let us understand the entire process by taking “Animoto” (comes with a free plan) as an online video maker tool.
Step 1: Select a Method for your Creation and Import the Photos
Open the “Animoto” website and select the creation method you wish to move ahead with. You can select from the available creation templates or start from scratch for your video.
Once done, click on the “Upload Photos” option and import all the photos/images you wish to include in your video from your phone gallery/ computer media.
Step 2: Edit Duration and Arrange the Storyboard
Once you are done with importing photos. The website will display your photos on a Storyboard. You can simply arrange them by drag and drop option to get the order of the photos in your video as per your choice and requirements.
Select any photo on the Storyboard and you can easily edit the duration of that photo on your video through the editing panel on the right-hand side.
Step 3: Add Transitions, Text, and Music to your Video
The website offers you a royalty-free music library to choose a background score and a piece of music. You can simply pick and drop the music on the timeline. Select the “Text” tab and choose a style. Once done, you can use the editing panel to edit the text and pick and drop the text clip on the timeline of your selected photo/image clip.
To add a transition between two photos, you simply need to pick and drop the transition option between any two photo clips to add the transition to the timeline. You can select transitions from the options that Animoto provides.
Step 4: Export and Save the Video Clip
Once you are satisfied with the video clip, you can click on the “Produce” button. You can download and save the video, however it will have the Animoto watermark on it under the free plan. You can go with any paid plan of Animoto to avoid the watermark. Choose the resolution and settings and finally render and download the final video on your computer media/phone gallery.
Also Read: 10 Best Free Drawing Software You Need to Try in 2024
Best Practices when You Make a Video with Images
Here are a few key practices that you should follow while creating a video using your photos/images.
- Make a Stroy: Make sure you have preplanned the location of your photos/images in the timeline as per your requirements and choice of the story you wish to tell or convey through the video clip of your photos.
- Good Quality Images: Always make sure that you select high-quality images with good resolution for the video. Use images that are clear and well-lit.
- Pace and Photo Length: Make sure that the photos you are adding to the video have a desired duration. Do not keep one photo for a longer duration and keep the flow of the video engaging by setting the proper pace of the video.
- Effective Use of Transition, Effect, Text, and Music: Any engaging video should have a balanced use of transition, effect, text, and music. Select the right music that sets the mood of your video. Have clear-to-read and bold text for a strong message. Also, make sure the effects are balanced as well with proper transitions to keep the video engaging.
- Choose a Suitable Format for Export: Whenever you are exporting the video clip and rendering it, make sure that you choose a suitable and compatible format for the video. Always select the quality of the video as per the file size limitations of the platform where you will upload the video.
FAQs
What is the easiest method to make a video clip with my photos/images?
The easiest way or method to make videos with your existing videos is by choosing a mobile editing application like CapCut or InShot. They are easy to use, have on-the-go access, and once downloaded, you can also access them offline on your mobile phones.
Can I make professional-looking videos with my photos on free video editing applications?
Though most of the free video editing applications come with limited features of animation, effects, and transitions there are certain things you can do to enhance your video on free applications as well. Make sure you use high-quality images, and royalty-free music from the app library, and add engaging and balanced transitions and effects at regular intervals to keep the video engaging.
Can I add my recording or narration to the videos that I am making with my photos?
Most of the paid plans of video editing applications give you the feature to add your recording to your clips. However, some free applications like CapCut give you the option to record your narration and add it to the video timeline for free.